Change the VM setting
Adding a system call need to recompile the linux kernel from source. Our VM doesn't have enough space to store the kernel source that we are going to download and the compiled files when we compiling, so let's add an extra disk into our VM first. We also need to increase the CPU memory to sucessfully use the new kernel.
To test our own system call is okay, we need to replace the new compiled kernel with old ones. But some minor errors would cause the new kernel to crash. So I recommend to download another new image from course website to do the following experiments.
Increase CPU memory
Open the setting of our VM image. Select "System" item and change the base Memory to 2048MB.

Add extra disk in the VirtualBox setting
Open the setting of our machine image. Select "Storage" item and next select "Controller:SATA" item.
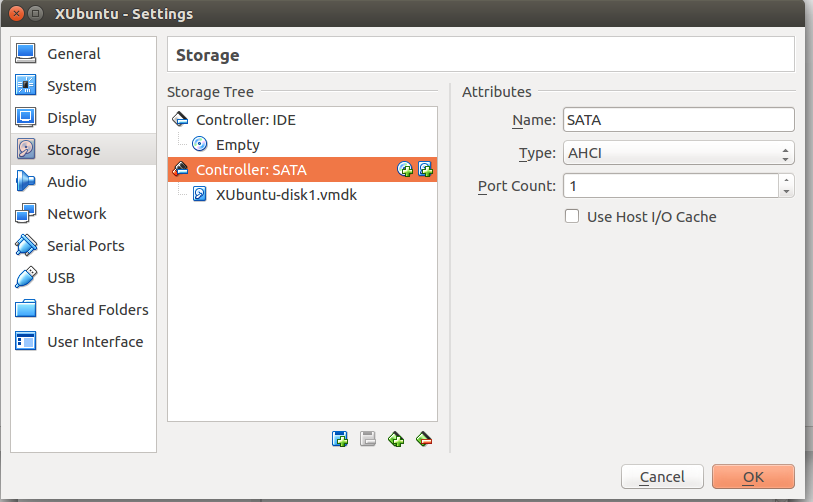
Click right "add" button and create a disk file
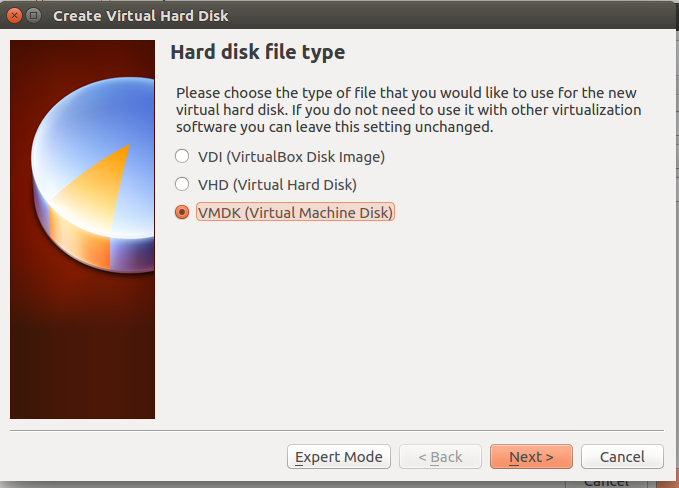
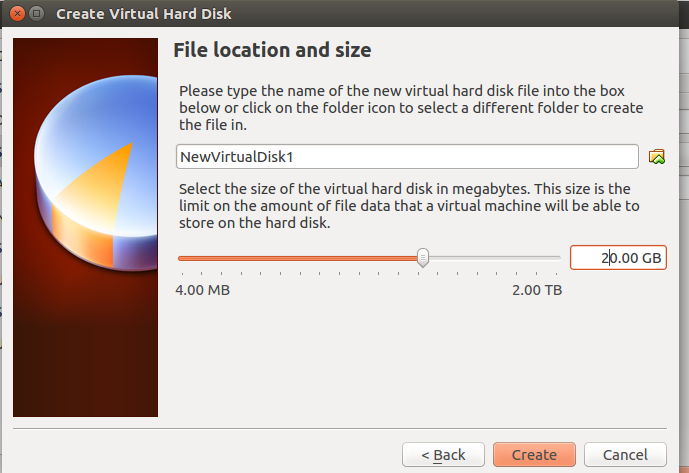
Set the disk size to 20GB
Now, the setting looks like
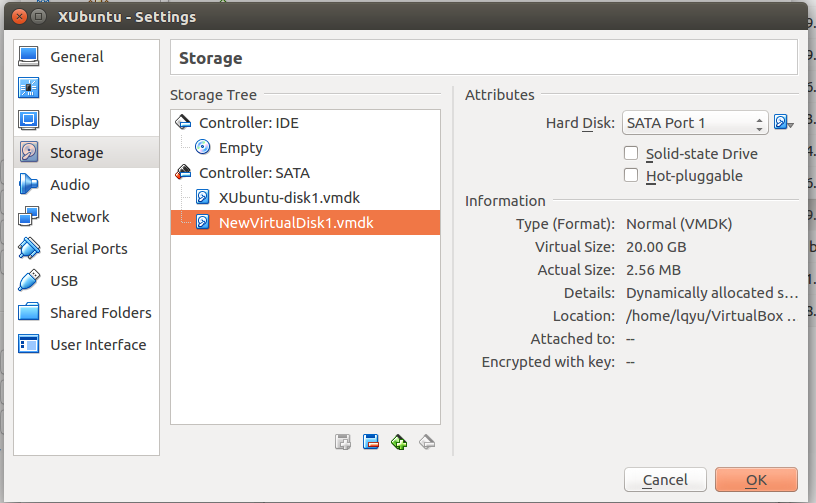
Click "OK" and continue to mount this new disk in our linux VM.
Partition
The easiest and user-friendly way is probably to use gparted to partition the new disk.
Open the terminal and install it
sudo apt-get install gparted
Start this tool
sudo gparted
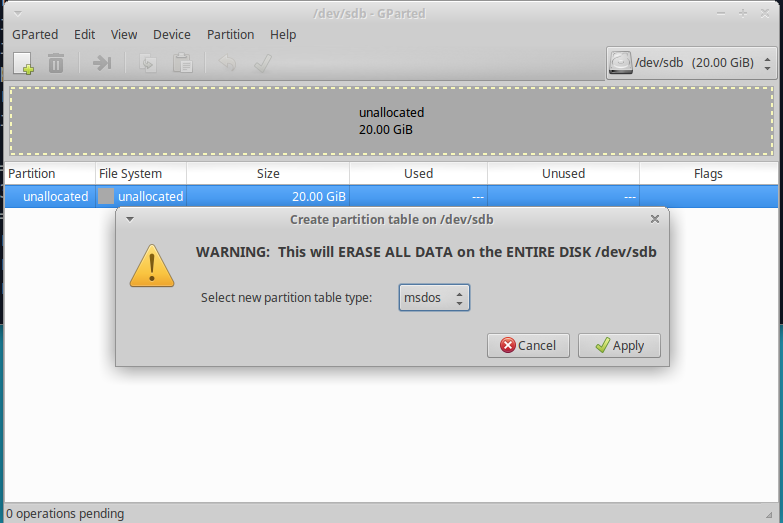
Select /dev/sdb and click 'Device'-->'Create Partitio Table...'. Use default setting and click 'Apply'.
Click 'New' button and create new partition.
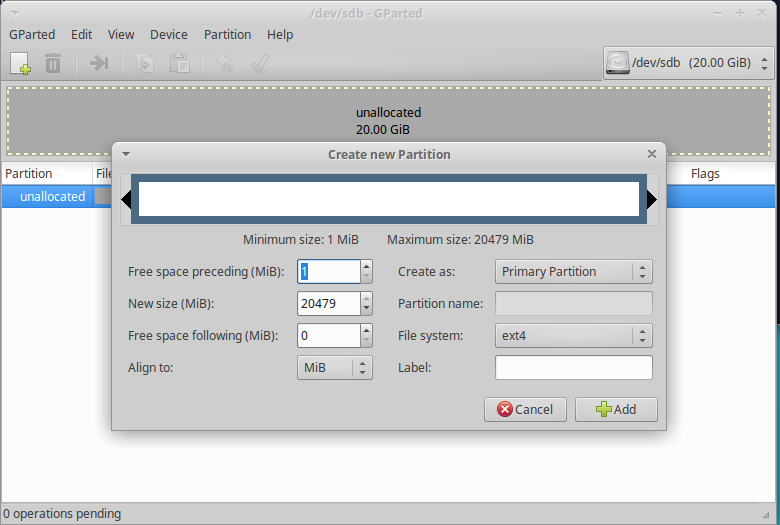
Apply all operations and exit.
Mount
After you are done creating your partitions (most likely it will be just one ext4 data partition, since this is your additional storage drive), you need to permanently mount it.
At this step you already know what names your new partition(-s) have. If not sure, following command will remind you about existing drives and partitions on them:
sudo fdisk -l
Then create a new folder and try mounting it with
sudo mkdir /media/Newdisk
sudo mount -t ext4 /dev/sdb1 /media/Newdisk
sudo chown csci3150 csci3150 /media/Newdisk
Then this new disk is mounted to '/media/Newdisk' and you can use df -h to show that.
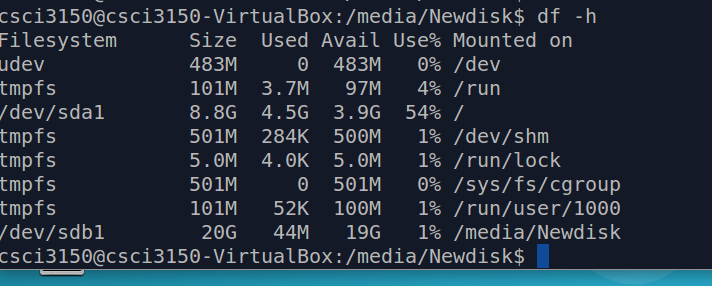
Note: Everytime when you reboot the system, you need to re-mount this disk again. If you want to permanently mount it. You can refer this link